


AI
Unveiling a New Benchmarking Framework from Ori
Access BeFOri for LLama2 and LLama3 Benchmarks on Nvidia V100s and H100 Chips
Ready to experience the Snowflake-Arctic-instruct model with Hugging Face? In this blog we are going to walk you through environment setup, model loading, and inference execution on 8 x Nvidia H100s. Here are the steps to provision on Ori's GPU Platform.

Snowflake recently announced Arctic, their Mixture of Experts (MoE) model which can process 128 tokens and has roughly 479B parameters, making it a very efficient model for large-scale tasks. Arctic was designed to deliver exceptional performance for a variety of applications and use cases, including SQL data co-pilots and predictive analytics.
One of the standout features of Arctic is its ability to scale efficiently across multiple hardware configurations, making it particularly well-suited for deployment on high-performance machines like the NVIDIA Cluster/Server with 8xH100s GPUs. Arctic’s inference works with Hugging Face, NVIDIA TensorRT, as well as, vLLM. By employing FP8 quantization to reduce the precision of floating-point numbers to 8-bit format, the model can run on a single GPU instance. Although this setup is not yet fully optimised, it can achieve a throughput exceeding 70 tokens per second at a batch size of one.
Ready to experience the Snowflake-Arctic-instruct model with Hugging Face for yourself? In this blog we are going to walk you through environment setup, model loading, and inference execution on Ori Cloud’s 8xH100s Bare metal server. Here are the steps to provision on Ori Platform.
.png?width=600&height=232&name=blog%20CTA%20(1).png)
Configuration
If you haven’t already done so, sign up to Ori. Below is the configuration we’ll be using in this tutorial:
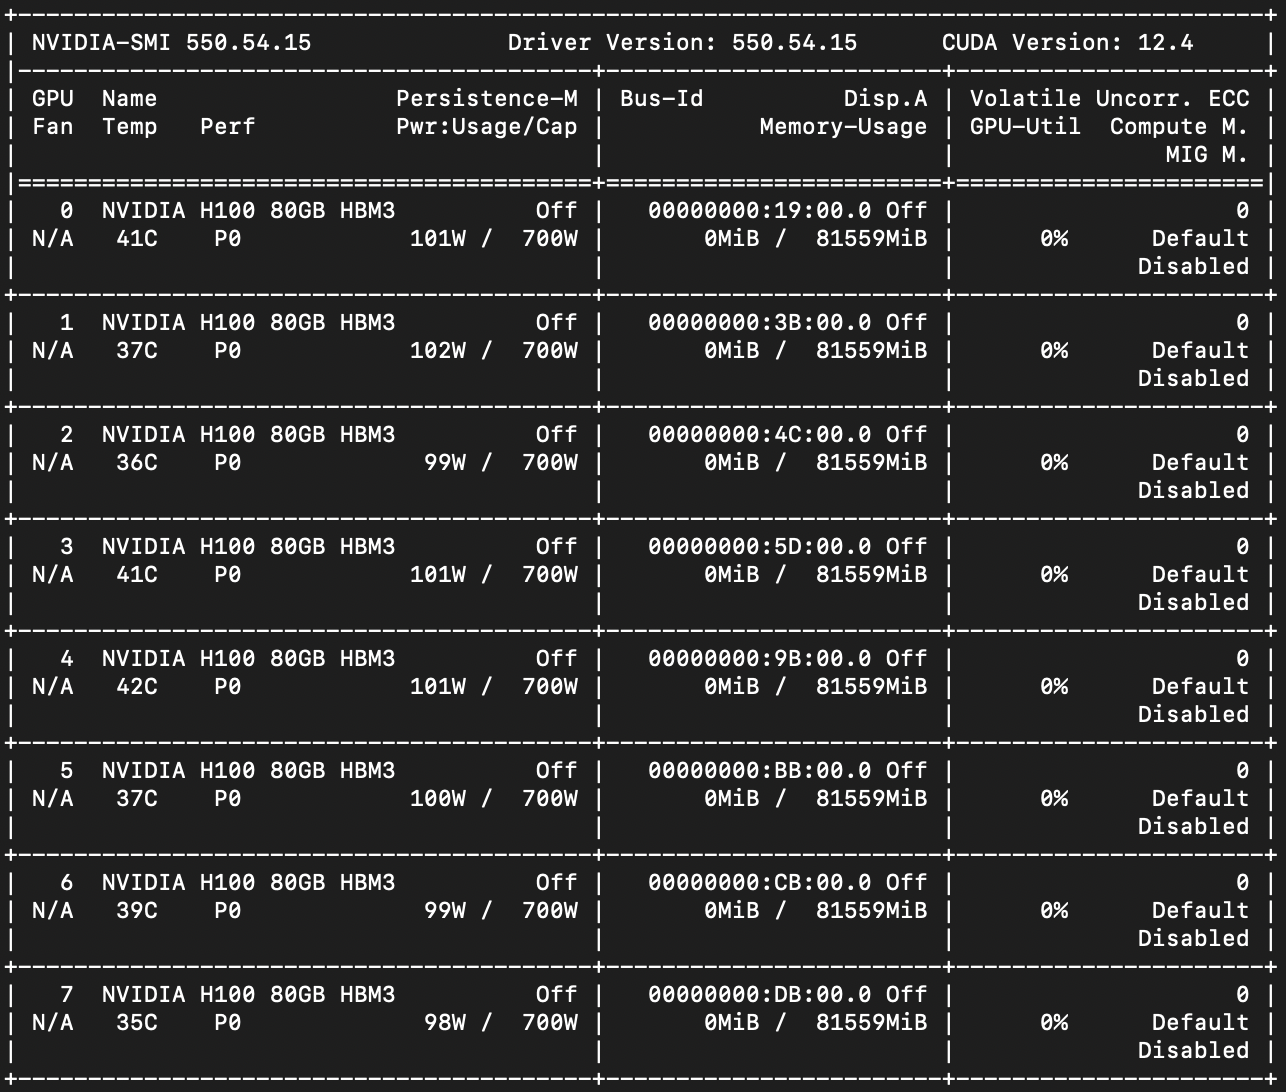
First, check the details and the version of CUDA of your GPUs on the instance by using the following command:
|
nvidia-smi |
Note that in the screenshots above, the machine used for this testing was running earlier on Cuda 12.4, which encounters issues with the available PyTorch version for Cuda.
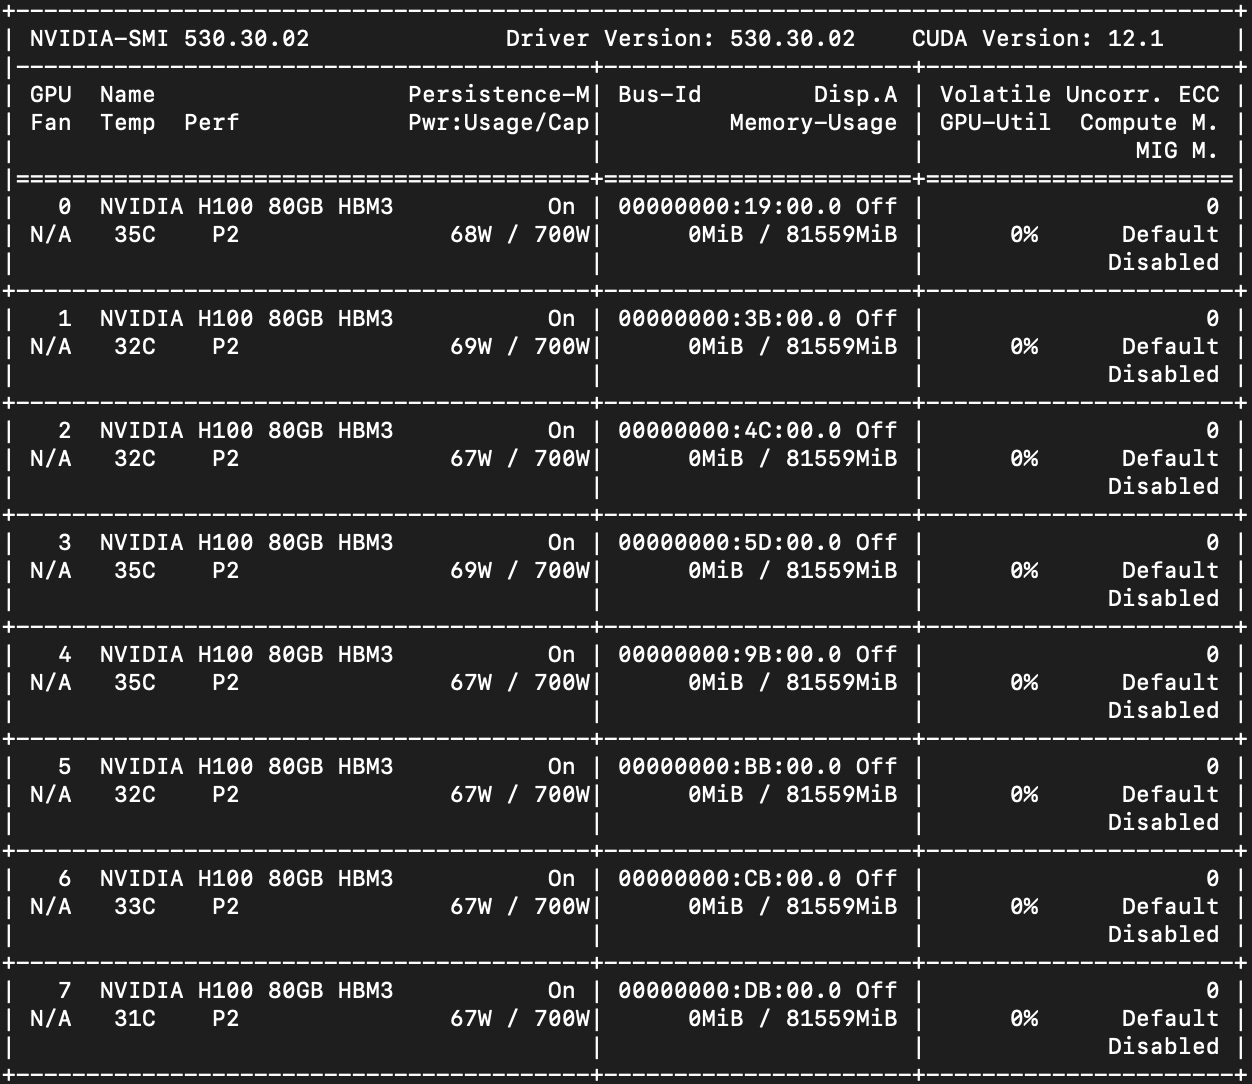
We suggest using Cuda 12.1 with the 535 NVIDIA driver on the H100 GPU. To downgrade the Cuda version to 12.1, you first need to remove the existing 12.4 version of Cuda.
|
sudo apt-get --purge remove "*cublas*" "*cufft*" "*curand*" \ sudo apt-get autoremove # To clean up the uninstall |
After it gets purged, reinstall the desired nvidia-toolkit. Simply follow the Nvidia-Cuda 12.1-toolkit instructions for Ubuntu 22.04. Next, reboot your machine and run nvidia-smi: and it should confirm your Cuda version as 12.1.
Install Pytorch, a ML framework
We need to install the Pytorch library to check the GPU compatibility.
Run the following command;
|
pip install torch torchvision torchaudio # Install Pytorch |
To check its compatibility with your H100 GPUs, it can be done by using:
|
>>> import torch >>> use_cuda = torch.cuda.is_available() |
This command will return a boolean (True/False) letting you know if a GPU is available. If false, then it indicates that your instance requires Nvidia’s Fabric Manager to be installed. This is required for 8-way A100 and H100 systems.
What is Nvidia’s Fabric Manager?
NVIDIA's Fabric Manager is part of the NVIDIA data center GPU management ecosystem, specifically designed to manage and optimize the connectivity and communication among GPUs within servers or across a network of servers. This software plays a crucial role in large-scale environments where multiple GPUs are used to handle complex computations, such as in high-performance computing (HPC), deep learning, and other data-intensive applications. Read more about Nvidia’s Fabric manager.
Before we install the Fabric Manager, it needs the Nvidia’s Data Center GPU Manager (DCGM) library to be installed as a prerequisite. Read more about Nvidia’s DCGM. Following are the commands to install DCGM on your Linux machine.
|
wget https://developer.download.nvidia.com/compute/cuda/repos/ubuntu2004/x86_64/cuda-keyring_1.0-1_all.deb sudo dpkg -i cuda-keyring_1.0-1_all.deb sudo add-apt-repository "deb https://developer.download.nvidia.com/compute/cuda/repos/ubuntu2004/x86_64/ /" $ sudo apt-get update && sudo apt-get install -y datacenter-gpu-manager # Install dcgm |
Following are the steps to install the Fabric Manager, once the Fabric Manager is installed, reboot your system, run the following to start the NVIDIA Fabric Manager service:
|
sudo apt-get install -y cuda-drivers-fabricmanager-535 |
|
sudo systemctl --now enable nvidia-dcgm dcgmi discovery -l |
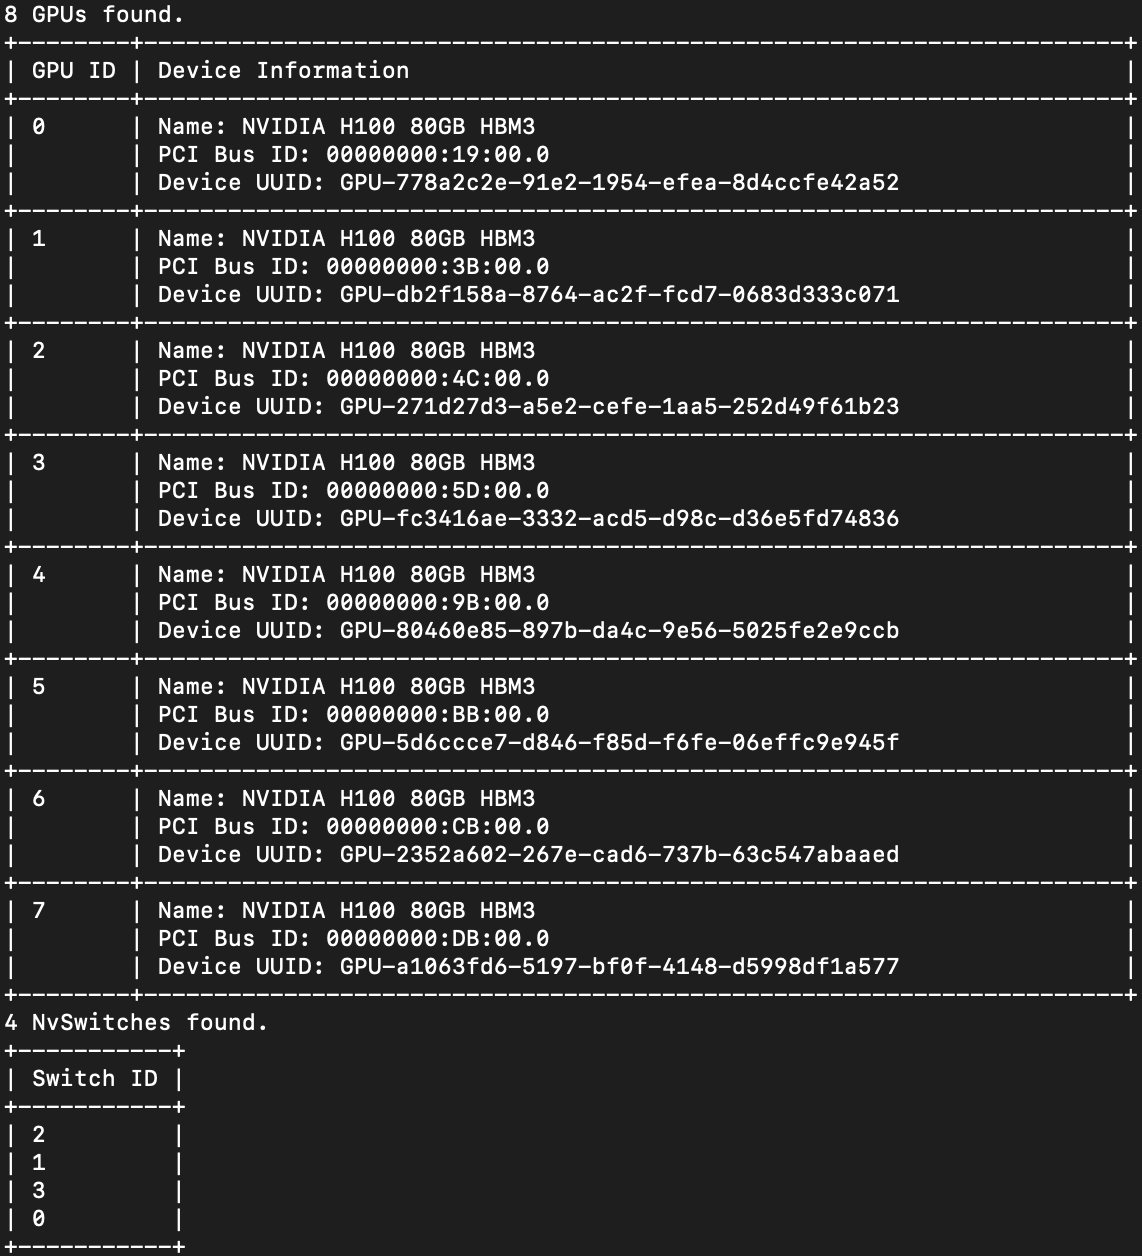
To verify installation, we use dcgmi to query the system. You should see a listing of all supported GPUs (and any NVSwitches) found in the system, refer to the screenshot below:
Now run remaining commands to kick off the fabric manager service:
|
sudo systemctl start nvidia-fabricmanager sudo systemctl status nvidia-fabricmanager |
Below is the screenshot of the running fabric manager service:
Let’s quickly test the Pytorch compatibility with our GPUs.
|
>>> import torch >>> use_cuda = torch.cuda.is_available() |
|
>>> print(use_cuda) |
The above command should now return TRUE.
Virtual Environment and Libraries
Now, let's spin up a virtual environment with root access to set up inference with Snowflake’s Arctic model.
Install and activate a virtual environment using the commands below:
|
# Create virtual environment |
Refer to Snowflake-arctic’s official repo on Github to install the required libraries, along with some additional ones:
|
pip install deepspeed>=0.14.2 |
Pass the Hugging Face READ token by installing the Hugging Face CLI:
|
pip install huggingface-cli |
Once the CLI setup is complete, install the flash-attn library.
What is Flash Attention?
Scaling up transformer architectures is primarily limited by the self-attention mechanism, which demands a lot of time and memory. Recent improvements in hardware have boosted computing power, but haven't done much for memory or data transfer. This tends to cause a bottleneck in memory during attention operations. Flash Attention is an algorithm designed to address this issue, making it easier to scale up transformers for faster training and inference.
|
pip install wheel |
If the above command doesn’t install flash-attn, then clone the flash-attn repo and follow the steps in the README file.
Create an Executable
Next, create a Python executable file to load and run the Arctic-Instruct model arctic-test.py.
|
import os |
Note that due to the large size of the model (approx. space ~1000G), we have provided a path in the Python script by mapping the object using os.environ, representing the environment variable. Refer to line 4:
|
os.environ['HF_HOME'] = '/dev/shm' |
Otherwise, by default the download will go to /root/.cache.
By running the df-h command, we can choose the path for the model weights to download. Otherwise, you may encounter a disk space issue when you do not specify the proper path.
Troubleshooting
If at the time of executing of the above Python file, you come across this error:
|
ImportError: cannot import name 'LlamaTokenizer' from 'transformers.models.llama' |
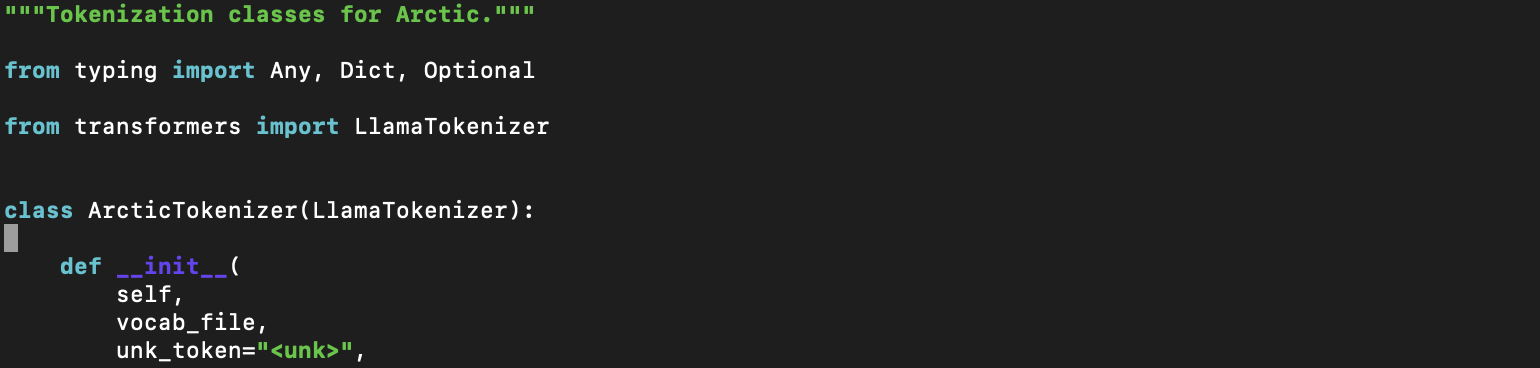
Then, make changes to the tokenization_arctic.py:
|
nano /dev/shm/huggingface/modules/transformers_modules/Snowflake/snowflake-arctic-instruct/314d82d80be3cf48aedfe33c82513c030a1238d7/tokenization_arctic.py |
And change the tokenization file tokenization_arctic.py from:
|
transformers.models.llama import LlamaTokenizer |
to
|
from transformers import LlamaTokenizer |
so that it looks like this:
Now, when you execute the Python script, we can see the model weights being downloaded. Please note that it could take up to 20 mins for the download to finish.
|
python3 arctic-test.py |
Once the models are downloaded, the fp_quantizer loads into the environment and within seconds we see our model running inference.
Output of model inference:
|
<|im_start|> user What is 1 + 1 <|im_end|> <|im_start|>assistant 1 + 1 equals 2.<|im_end|> |
If you see a warning coming — the attention mask and the pad token id were not set. As a consequence, you may observe unexpected behavior. Please pass your input's `attention_mask` to obtain reliable results., it can be addressed by setting the pad_token_id in the generation_config. The warning is common for any text-generation task done on Hugging Face. Here is an explanation.
That’s it, you are now running inference on the Snowflake-Arctic-instruct model on Ori’s 8 x H100s Bare metal server.
Unlock the power of Snowflake Arctic for your AI-powered business. Start deploying Arctic on the AI-native Ori Cloud today!
Access BeFOri for LLama2 and LLama3 Benchmarks on Nvidia V100s and H100 Chips
Discover how to use BeFOri to calculate a cost per input and output token for self hosted models and apply this methodology to the DBRX Base model...
An end to end Tutorial using Ori's Virtual Machines, Llama3.1 8B Instruct, and FastAPI for speedy batch inference with TensorRT LLM.
Build a modern GPU cloud with Ori to accelerate your AI workloads at scale.
